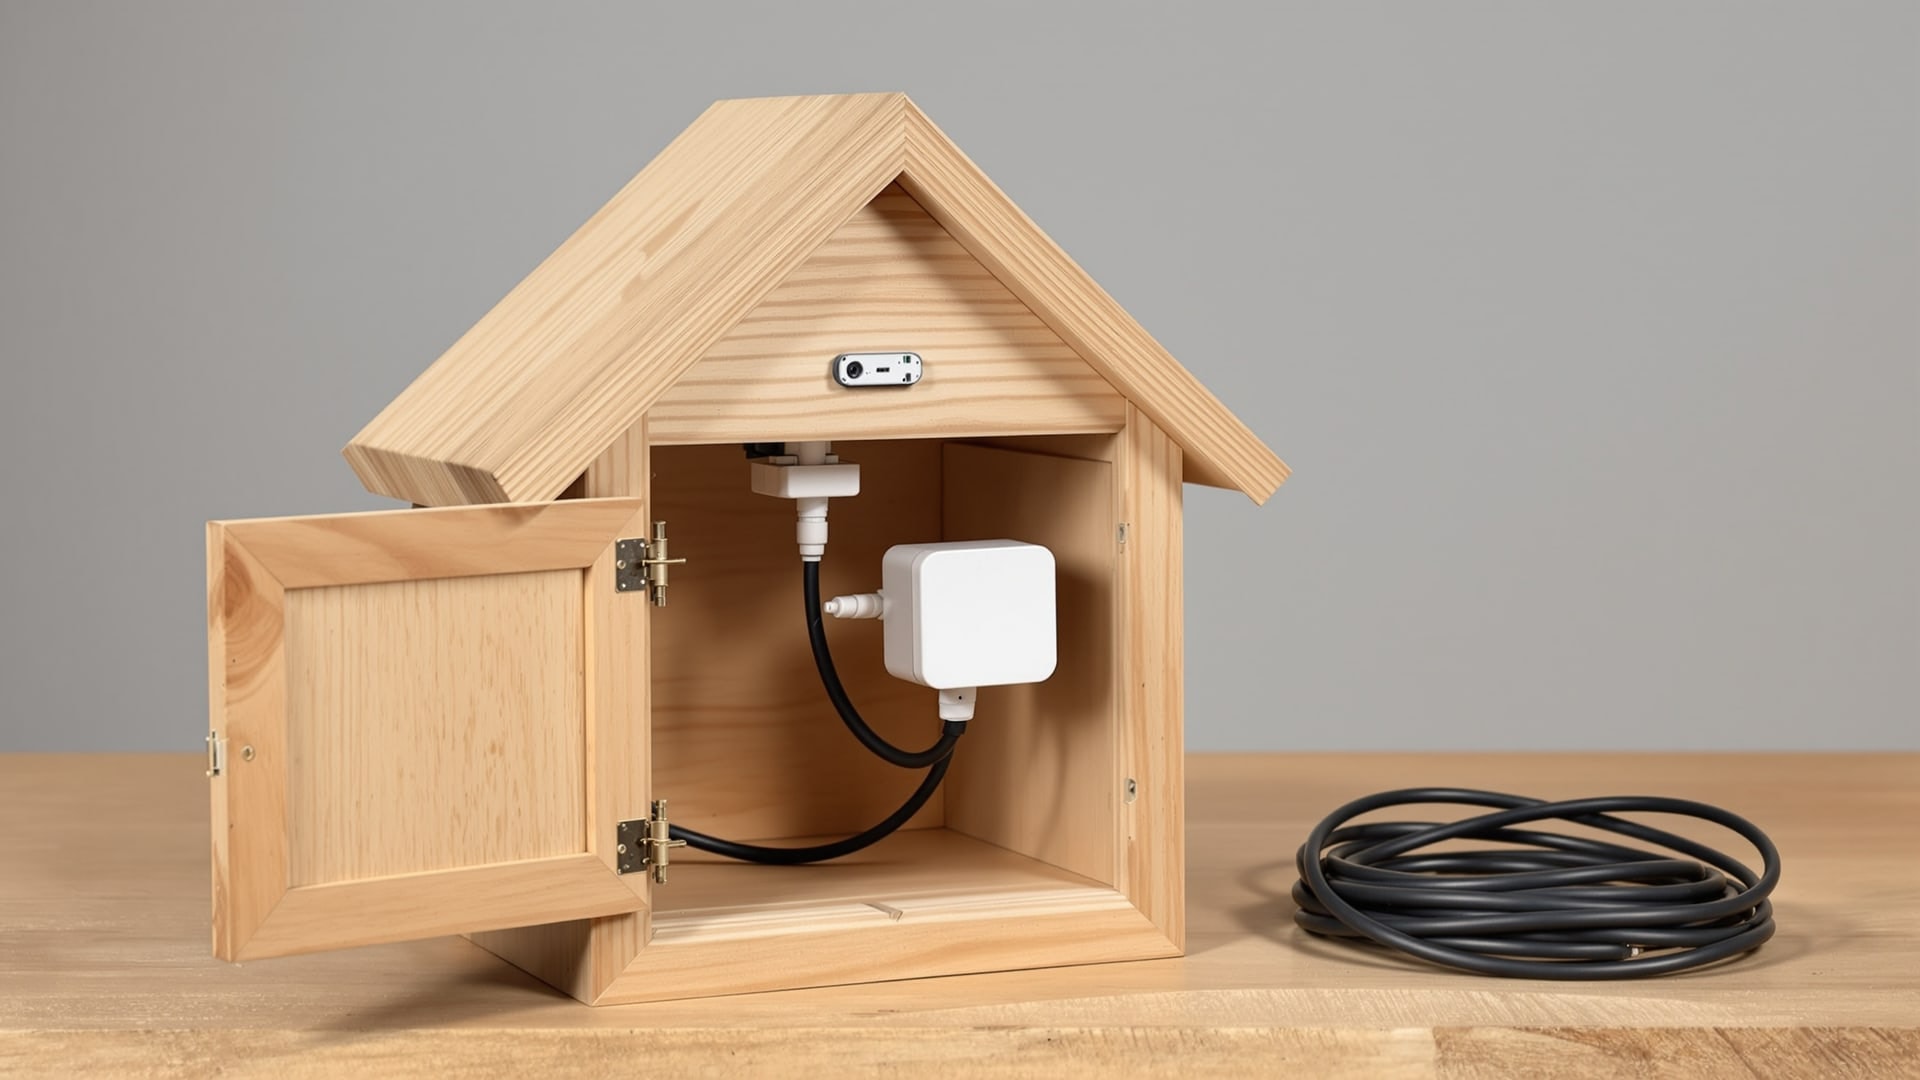
WIFI bird box cam system — 5MP HD camera kit with hand-made nest box
Handykam ceased trading. Nothing here is for sale, and no orders, enquiries or support can be handled.
This was the last major system Handykam launched, and the one it put most development behind. It replaced a fifteen-year-old idea — an analogue camera on a long cable running back to a television — with a network camera that sat in the box and streamed to a phone. It was a genuine change of category rather than a refresh, and the company's writing about it is correspondingly detailed. The system's contents and setup are described below.
What it was
A complete camera nest box system built around a 5 megapixel IP camera. The camera went inside a hand-made wooden bird box, took power from a low-voltage DC cable run to the nearest convenient outdoor socket, and transmitted colour video, infra-red night video and audio over WIFI to a phone, tablet or computer. It was sold as a bird box system but the camera itself was box-agnostic — the same unit was used in owl boxes, mammal boxes, bat boxes, hen houses, aviaries, bird tables and feeding stations, and it was also sold on its own as an upgrade for people who already had a box and a bracket.
Specification and features
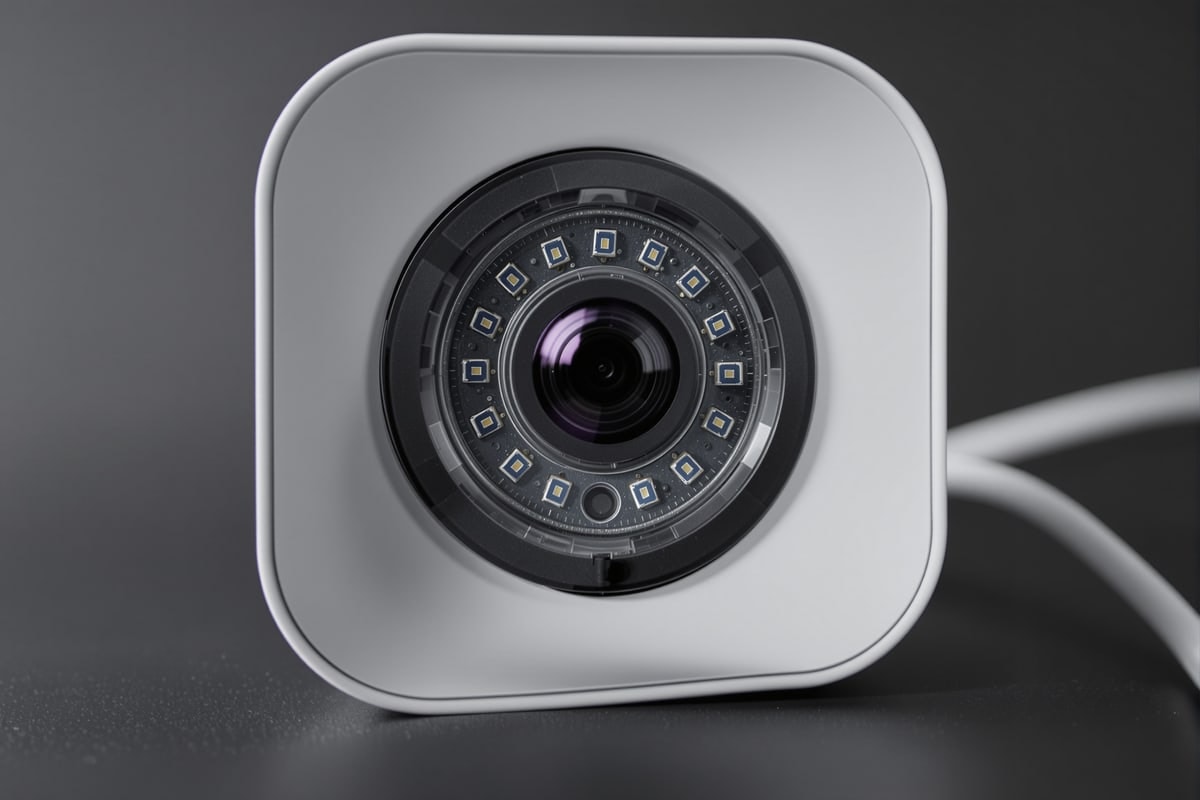
- Sensor and resolution — 5MP, giving full-colour daylight images with enough detail to read individual feather markings at nest-box distance.
- Night vision — automatic switching to infra-red, producing a crisp black-and-white image in complete darkness. The infra-red LEDs around the lens are invisible to the eye and to the birds.
- Audio — a built-in microphone with adjustable level in the viewing app. Audio matters more than people expect inside a nest box; you usually hear a brood before you see much movement.
- Recording — a micro SD card slot in the camera, taking cards from 1GB to 128GB (Class 10). Recording could be triggered by motion or run to a schedule, and footage was reviewed and downloaded through the app without removing the card. When the card filled, it overwrote.
- Live streaming — live view to phone, tablet or PC, on the local network or remotely once the camera had joined a home network.
- Connections — two flying leads: one 12v DC power input, one network socket. The network lead supported Power over Ethernet, so a single cable run from a switch could carry both power and data instead of running a separate DC cable.
- Standards — the camera spoke ONVIF and exposed an RTSP stream, so it was not locked to a single app and could be added to a network video recorder or third-party viewer.
- Rating — indoor rated. Inside a box it was fine; used in the open it needed a small enclosure with the lens and LEDs left clear.
What was in the kit
- 1 × 5MP IP WIFI camera with reset button
- 1 × swivel and tilt bracket, plus a C-shaped alternative bracket with two small fixing screws
- 1 × hand-made wooden bird box, pre-modified for the camera
- 1 × 20m DC cable (30m, 40m and 50m runs were available)
- 1 × 12v power supply
- 1 × quick start guide
Optional additions were a WIFI booster, powerline adapters to carry the network over the mains ring where the router sat at the wrong end of the house, a remote kit with a battery and charger for locations with no power at all, and micro SD cards.
How it was set up
The setup was deliberately staged so that the first step worked with no network knowledge at all. On power-up, the camera raised its own WIFI network. You connected a phone directly to that, saw the picture, and only then — if you wanted to — told the camera to hop onto the house network instead.
1. Direct WIFI, camera to phone
- Plug the camera into the DC cable and power supply.
- Wait a few moments; a faint click and a warm-up period were normal.
- Open the phone's WIFI settings and connect to the camera's own network, which appeared as
IPCAM-followed by a unique number. - Open the viewing app and the picture appeared.
2. Through the house router
- Connect to the camera's own WIFI as above.
- In the camera settings, scan for the home network and enter its password.
- The camera joins the house network and stops broadcasting its own. From that point it can be viewed on any device on the network, and remotely.
3. Wired to the router, viewed wirelessly
- Run a Cat5 or Cat6 cable from the camera to the router or a switch and power the camera as usual — or over PoE from the network end.
- The camera appears on the network and is found by the app.
One quirk was worth knowing and the company documented it plainly: plugging the camera into a network cable disables its own WIFI. If you later wanted the camera's own network back you had to find its IP address on the router, open it in a browser and reset it. Detailed answers to that and around thirty other questions appear in the WIFI IP camera FAQ.

Focusing and mounting
The lens was manually focused by gently turning the front of the barrel. The company's recommended technique was to focus the camera outside the box: measure the distance from the lens to where the nest cup would sit, allow for the height the nest will build up to, hold the camera that distance above a sheet of newsprint, and turn the lens until the text is crisp. Doing it that way is easier, safer and produces a better result than trying to focus in situ with an arm inside a box.
The swivel and tilt bracket screwed to the inside of the box lid or ceiling; the finger nut was loosened to angle the camera and re-tightened. Fitting the bracket on a clear table rather than over grass was advised for the simple reason that the two small screws are easy to drop and hard to find.
What it was good at, and what it was not
It was very good at getting a beginner from parcel to live picture in an afternoon, and at putting a genuinely high-resolution image where previous generations of nest box camera had put a soft one. It was not weatherproof, it was not battery-powered as standard, and it needed a power run to the box like everything else — the underlying constraint set out in Wired or wireless camera? had not gone away, it had simply moved from the video signal to the power supply.
Before you put a camera in a box
Whatever the equipment, the responsibility is the same. Nest boxes should go up outside the breeding season, be sited out of direct sun and driving rain, and then be left alone: in the UK, disturbing nesting birds is an offence under the Wildlife and Countryside Act 1981, and some species are protected against disturbance at the nest entirely. The BTO's nest box guidance covers siting and hole sizes, and its Nest Record Scheme is where observations from a box camera can genuinely contribute something.
Related pages: 5MP mini WIFI camera · WIFI IP camera FAQ · How do IP cameras work? · model index