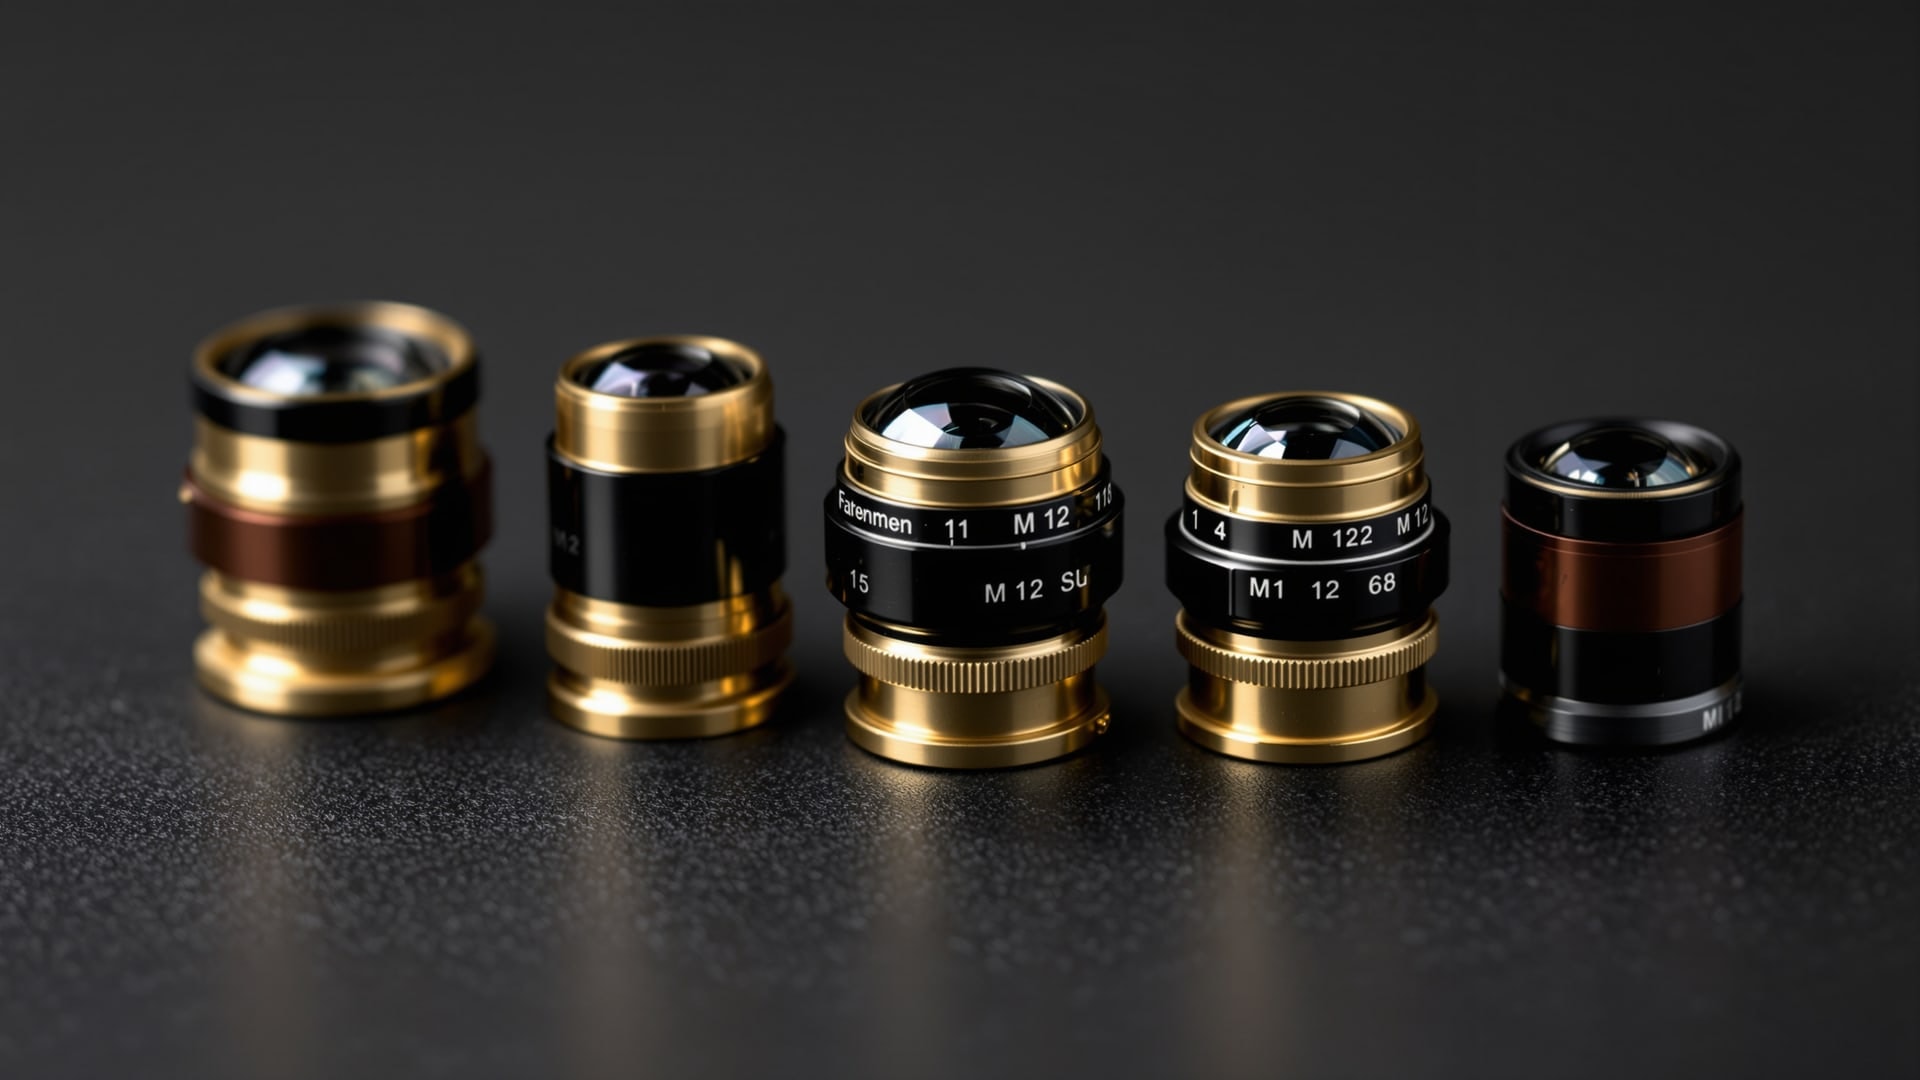
CCTV camera lenses and board lens tips
CCTV camera lenses matter more than almost any other component and get the least attention. Handykam looked at a great many over the years and published this as a short set of tips alongside a video, which is no longer available. The written advice stands on its own and has been expanded here into a full account, because the choice of lens is what actually determines whether a camera shows you what you wanted to see.
Why the lens decides everything
With the correct lens you get the right angle of view and the best out of the sensor behind it. With the wrong one you get a technically excellent picture of the wrong thing. No amount of resolution rescues a camera that is looking at a wall, and a superb sensor behind a cheap plastic lens produces a soft image that no setting will sharpen.
M12 board lenses
The small screw-in lenses used on board cameras — the little square circuit-board cameras that go inside bird boxes and mini CCTV housings — are almost always M12, meaning a 12mm screw thread. They are interchangeable, cheap, and the easiest meaningful upgrade or change you can make to a small camera. Focus is set by screwing the lens in or out in its thread, sometimes secured by a tiny grub screw that has to be released first.
Focal length against field of view
Focal length, quoted in millimetres, determines how wide the camera sees. Shorter is wider; longer is narrower and reaches further. As a rough guide for small-sensor board cameras:
- 2.1–2.8mm — very wide. Covers a whole small room or the full interior of a large box, with noticeable barrel distortion at the edges.
- 3.6mm — the standard nest box lens, and the one supplied with most Handykam kits. It covers the floor of a typical bird box comfortably from the ceiling with a natural-looking perspective.
- 6mm — narrower. Good for a feeder or a specific perch a metre or two away, where you want the subject to fill the frame.
- 8–12mm and up — a narrow view for reach. Useful on a gateway or a driveway; far too tight for anything at close range.
The practical rule is to work backwards from the shot you want. Decide what has to be in frame and at what distance, then choose the lens — rather than fitting whatever came with the camera and moving the camera until it more or less works.
Depth of field, and the nest box problem
Small sensors and short focal lengths give generous depth of field, which is why a 3.6mm board camera can be sharp from a few centimetres to the far wall of a box. But depth of field is always shallower up close, and a nest box camera is working close. This is why the focusing technique matters: focus at the distance the nest will be, allowing for the height it will build up to over the season, not at the empty floor. A camera focused on bare wood in March can be soft on a full nest cup in May.
Aperture and low light
Lenses are also rated by aperture — the f-number. A lower number gathers more light. Inside a nest box, or on any camera relying on infra-red, this matters considerably more than a marginal difference in resolution. It is one of the reasons a good glass lens outperforms a plastic one: glass elements pass more light and hold their sharpness across the frame.
Infra-red correction
A detail that catches people out. Infra-red light focuses at a slightly different point from visible light, so a lens that is sharp in daylight can be noticeably soft at night on the same camera. IR-corrected lenses are designed to focus both together. If a camera is sharp by day and soft by night and the focus has not been touched, the lens is the reason, not the camera.
Varifocal lenses
A varifocal lens lets the focal length be adjusted, so the angle of view is set on site instead of being fixed at purchase. On a CCTV installation where the camera cannot easily be moved this is worth a great deal — you tune the view to the scene once and lock it. On a nest box, where the geometry is known and unchanging, a fixed lens is simpler and better.
Practical tips
- Keep the lens clean and keep it clear. Nothing should be within a few centimetres of the front element, and the infra-red LEDs must not shine onto a nearby surface — reflected infra-red produces the milky, washed-out night picture that people usually blame on the camera.
- Do not over-tighten a board lens. The thread is fine and the housings are soft.
- Set focus with a live picture, at the real working distance, using printed text as a target.
- Watch out for the housing. A wide lens behind a small aperture in a case or a perspex window will vignette — dark corners are the giveaway.
- Match the lens to the sensor size. A lens intended for a smaller sensor than the camera has will darken the corners; the reverse simply crops the view.
Related pages: Camera resolution · FAQ: wired small analogue camera · CCTV glossary · Digital IP versus analogue