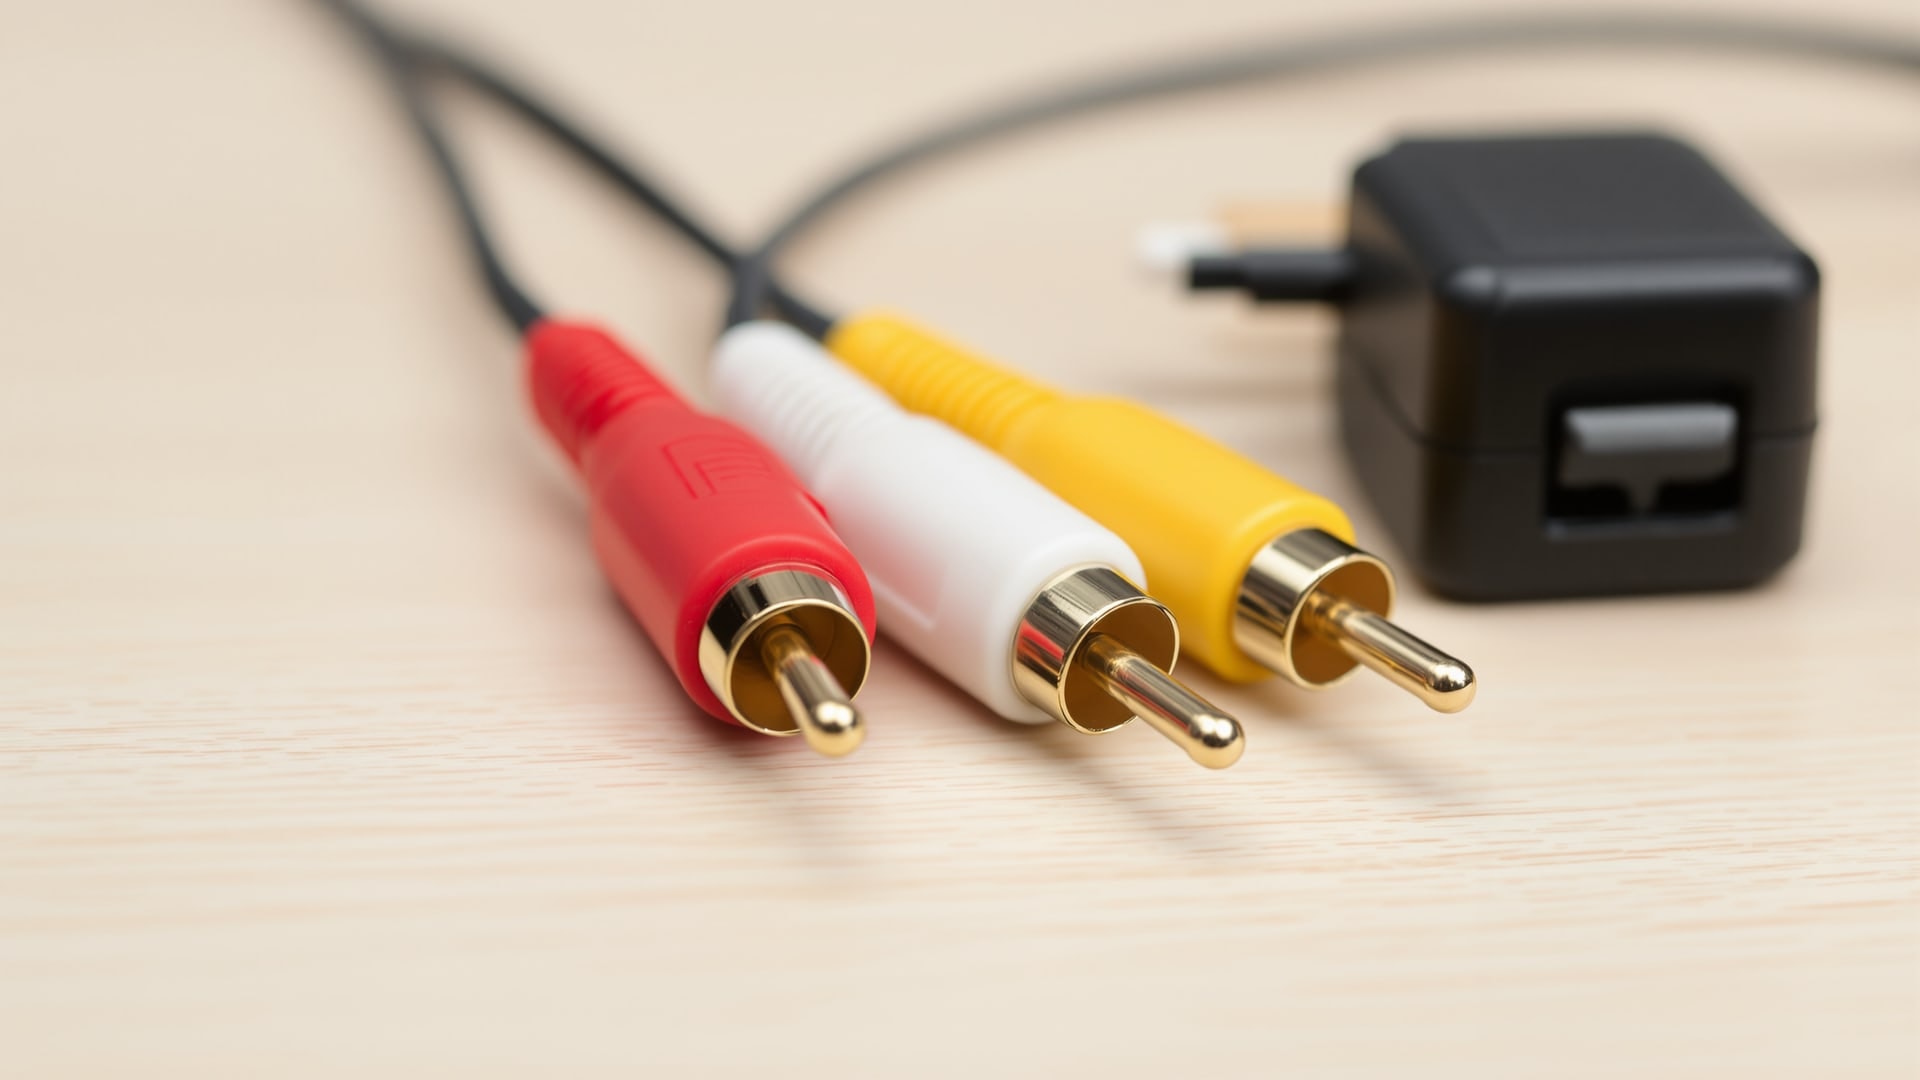
How an analogue camera works
Analogue cameras are very easy to use and install — close to plug-in-and-play. For fifteen years this was the technology behind almost every nest box camera Handykam sold, and it is still the simplest way to get a live picture out of a box and onto a screen with nothing to configure. The whole system is three coloured connectors and a power supply.
The single-cable idea
The clever part of a wired analogue camera kit is that one cable does two jobs at once. Power travels out along the cable to the camera; video and audio travel back along the same cable to the television. That is why a nest box system needs one run rather than two, and why the AV cable is the most important item in the kit after the camera.
The three connectors
An AV cable of this type carries three RCA phono connectors at each end, colour-coded to a long-standing convention:
- Yellow — video. The picture.
- White — audio. The microphone in the camera.
- Red — power. On a standard consumer AV lead red would be the right audio channel; on a camera cable of this type it carries 12v DC out to the camera instead. This is the one detail that surprises people, and it is why these cables are not interchangeable with ordinary hi-fi leads.
Connecting it up
- At the camera end, connect the camera to the cable — red to red, white to white, yellow to yellow.
- At the viewing end, connect the yellow and white connectors to the AV inputs on your television.
- Plug the 12v power supply into the mains at the television end and into the red connector.
- Select the AV input on the television.
Power then travels down the cable to the camera, and video and audio travel back up it to the television. There is nothing else to set. On older sets a SCART adapter was supplied to convert the three phono plugs into the single connector those televisions used; modern sets normally take the phono plugs directly, and a composite-to-HDMI converter handles anything that does not.
What can go wrong, and what it looks like
- No picture at all, no sound — almost always power. Check the adapter is in the red connector and at the mains, not at the camera end.
- Sound but no picture, or vice versa — one connector is not seated, or yellow and white have been swapped at the television.
- A grainy or rolling picture on a long run — signal loss, usually from joining several cables together, or from a poor-quality unshielded cable.
- Interference bars — the cable is running alongside mains wiring somewhere. Cross mains cable at right angles rather than running parallel to it.
Getting the picture somewhere other than a television
An analogue camera is not limited to a television set. It can be:
- Digitised into a computer with a USB capture device, which is the cheapest route to recording and editing.
- Put onto a network with an IP converter, which turns the analogue signal into a digital one presented to your router, so any phone, tablet or computer on the network can watch.
- Recorded continuously on a digital video recorder — see the DVR and NVR FAQ.
- Made wireless with a separate transmitter and receiver, with all the caveats in Wired or wireless camera?.
Why this still matters
Analogue nest box cameras are long out of production, but a great many are still in service in gardens, schools and reserves, and they outlast the companies that sold them. The wiring convention above has not changed, replacement 12v supplies and AV cables remain easy to find, and a working camera on a good cable will keep producing a perfectly watchable picture of a blue tit for as long as the cable stays intact. If yours has stopped, the fault is nearly always the power supply or a damaged cable rather than the camera.
Related pages: FAQ: wired small analogue camera · FAQ: cables · Digital IP versus analogue